Removing a phone case sounds like a trivial task until you're faced with a snug-fitting RhinoShield cover and a nagging worry about scratching your screen or chipping the frame of your handset. Whether you own an iPhone 12, an iPhone 13, or a Samsung Galaxy device, knowing the correct technique to prise off your case can save you from unnecessary damage and frustration. This guide walks you through a simple, three-step method for safely detaching your RhinoShield case, whilst also touching on what makes these cases worth protecting in the first place.
In short
- Before removing a RhinoShield case, identify your specific phone model to understand how the case’s tight fit and button placement interact with your device.
- RhinoShield cases are engineered for high-impact protection and durability, utilizing BPA-free materials that require a gentle, methodical removal approach rather than force.
- To safely remove the case, start by gently lifting one corner, then gradually work your fingers along the edges to release the phone, avoiding sudden pressure.
- Avoid common mistakes like rushing the removal or applying pressure directly to the screen, which can lead to accidental scratches or damage to custom components.
- Be cautious when removing the case if you have a separate glass screen protector installed, as aggressive lifting near the edges can cause the protector to crack or peel.
- Post-removal is an ideal time to clean your phone and case using a microfibre cloth, though you should avoid prolonged exposure to alcohol cleaners to preserve the case's finish.
Understanding your rhinoshield case: compatibility and design features
Identifying your device model and rhinoshield case type
Before you even think about removal, it's worth confirming exactly which case you're dealing with. RhinoShield produces a range of covers tailored to specific handsets, and their Clear case designed for the iPhone 12 and 13 Series has become particularly popular thanks to its blend of transparency and durability. Unlike many budget alternatives, this case boasts genuine anti-yellowing properties, having been tested against a punishing 168 hours of high-temperature UV light and humidity exposure without turning that unsightly amber shade so common with cheaper clear covers. This sort of UV resistance is backed by a Lifetime Replacement Warranty, meaning that if your case ever does discolour, RhinoShield will replace it free of charge. Knowing your exact model matters because the fit, button placement, and camera cut-outs vary between devices, and a mismatched case is far more likely to become stuck or damaged during removal.
Why proper case recognition matters before removal
Every RhinoShield case is built with impact protection in mind, often exceeding military standard requirements for drop protection. This robust construction is fantastic for everyday use, but it also means the material is designed to grip your phone tightly, which is precisely why understanding the case's structure before attempting removal is so important. These cases are made without any BPA-free and non-toxic materials, so you needn't worry about harmful chemicals, but the sturdy build does require a slightly different approach than flimsier alternatives. It's also worth noting that many RhinoShield cases are MagSafe compatible, though it's recommended you avoid using unofficial chargers with them, as this could affect both the case and your device's charging performance over time.
The three-step removal process: a gentle approach to case extraction
Step-by-step guide to safely detaching your rhinoshield case
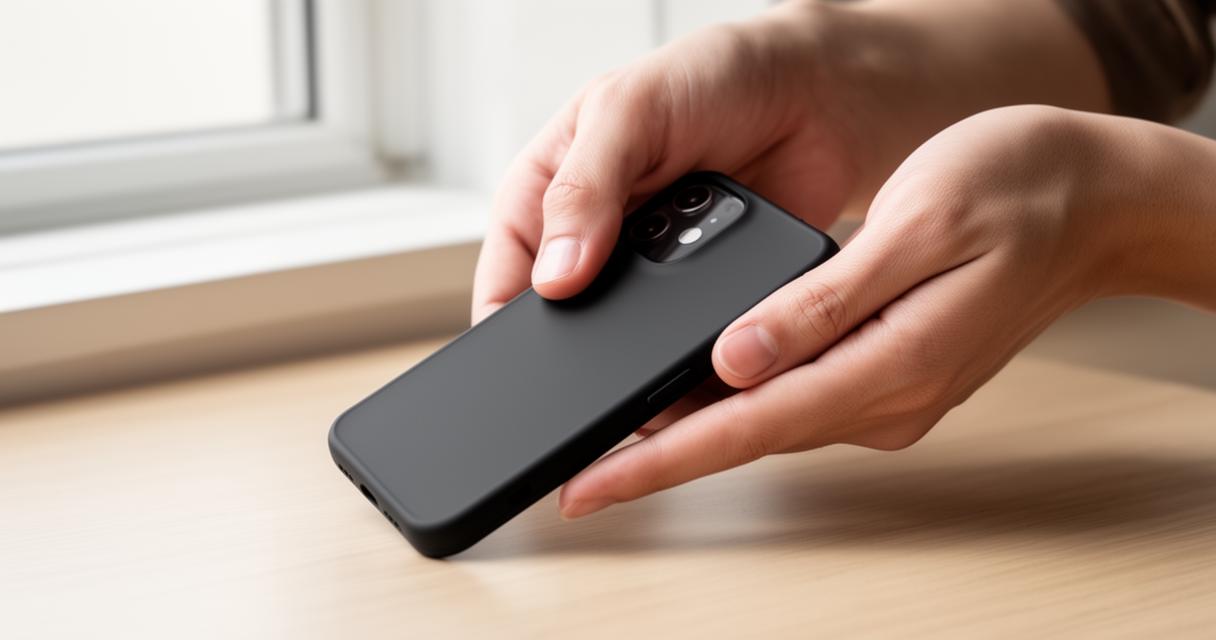
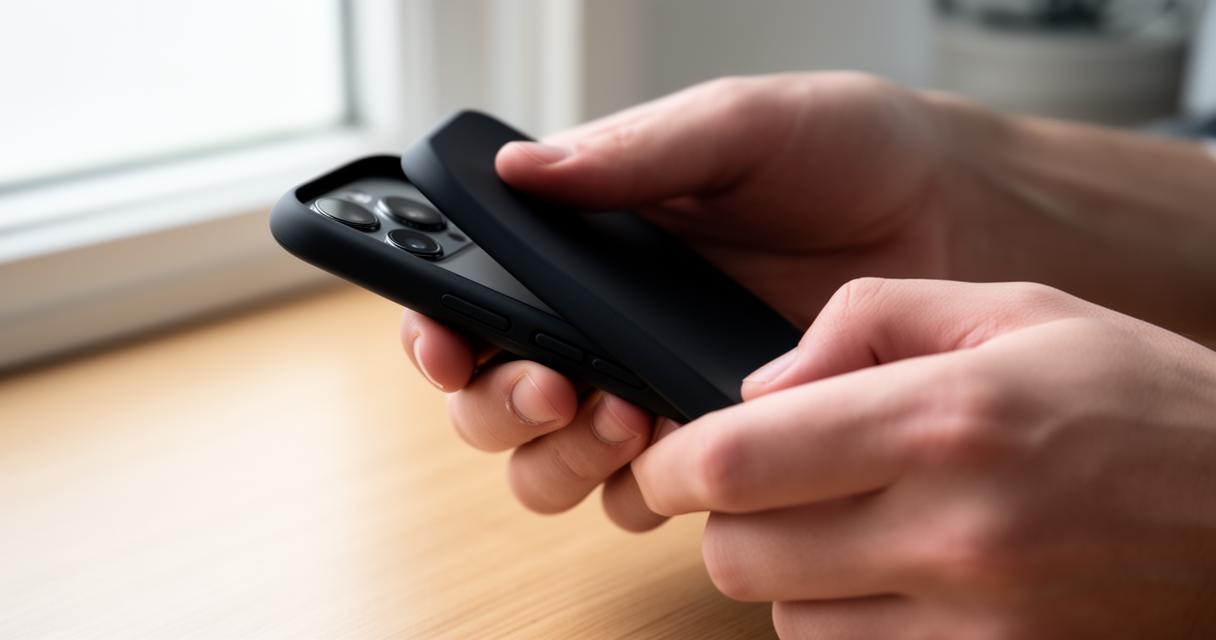
The actual removal process is refreshingly straightforward once you know what you're doing. Start by locating a corner or edge of the case, typically near the top where the case tends to be slightly looser. Using your thumb or fingernail, gently apply upward pressure to begin lifting that section away from your phone's body. Resist the temptation to yank forcefully, as RhinoShield cases are designed to fit snugly and rushing this step is the most common cause of accidental damage. Once you've created a small gap between the case and your handset, work your fingers along that edge, gradually loosening the material as you go. The final step involves carefully working your way around the remaining sides and corners of the device until the case pops free entirely. This methodical approach, moving section by section rather than trying to remove everything in one motion, helps distribute the pressure evenly and avoids any sudden shocks to your phone.
Common mistakes to avoid when removing protective cases
One of the most frequent errors people make is trying to remove a case too quickly, particularly when they're in a rush. This often results in fingernails slipping and scratching either the case or the phone itself. Another mistake is applying pressure directly onto the screen area rather than the sides of the device, which can stress the display unnecessarily. If your case includes customisable elements such as a coloured camera ring or personalised button colours, take extra care around these areas, as forceful removal can dislodge these smaller components. RhinoShield offers over 1,200 combinations for personalisation, including eight colours for camera rings and twenty-six options for buttons, so it would be a shame to damage these customised touches through careless handling.
Protecting your device during case removal: screen safety and damage prevention
Safeguarding Your Screen Protector and Glass During the Process
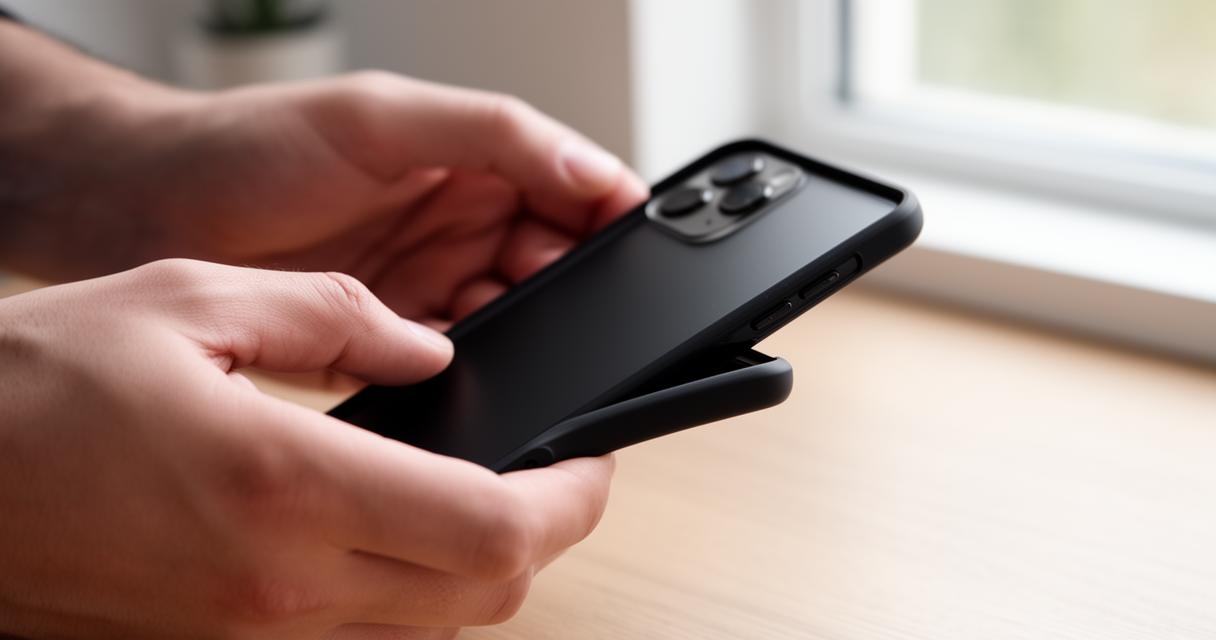
Many RhinoShield cases feature raised edges specifically engineered to protect both the lens protection and screen protection of your device, creating a slight barrier between the case and your phone's surface. This design actually works in your favour during removal, as it means the case isn't making direct contact with your screen across its entire surface. Nevertheless, if you have a separate glass screen protector fitted, be mindful of its edges when lifting the case away, as overly aggressive prising near the top or bottom of the phone could potentially catch on the protector and cause it to lift or crack. Taking your time and working methodically around the device, rather than forcing one section repeatedly, significantly reduces this risk.
Maintaining your phone's pristine condition throughout removal
Once your case is off, it's an excellent opportunity to give both your phone and the case a proper clean. For the case itself, a damp cloth or microfibre cloth works perfectly well for regular maintenance, and alcohol can be used briefly if you need to disinfect the surface thoroughly. Just remember not to leave alcohol sitting on the material for extended periods, as this could affect the case's finish over time. If you've opted for one of RhinoShield's customisable accessories, such as their lanyard crafted from eco-friendly materials and adjustable up to 163 centimetres in length, give this a gentle wipe too, particularly if it's been attached to your phone regularly. Looking after your accessories in this way ensures everything stays looking sharp, and with RhinoShield reportedly planning to release additional colours and customisation options for their Clear case range in the future, you'll want your current setup looking its best for as long as possible.